Inzichten
Onze perspectieven op design, technologie, SEO, business en alles wat met internet te maken heeft. Trial & error bij het zo goed mogelijk runnen van ons digitaal bureau.
-

Weichie 3.0: Een nieuw hoofdstuk
Weichie heeft een nieuwe identiteit, een nieuwe website en een scherpere focus. We blikken terug op hoe we hier zijn…
-

Hoe een verbonden website uw vastgoedkantoor transformeert
Worstelt u met vastgoedtechnologie? Laten we eerlijk zijn – als u een makelaarskantoor runt, kent u de hoofdpijn van het…
-
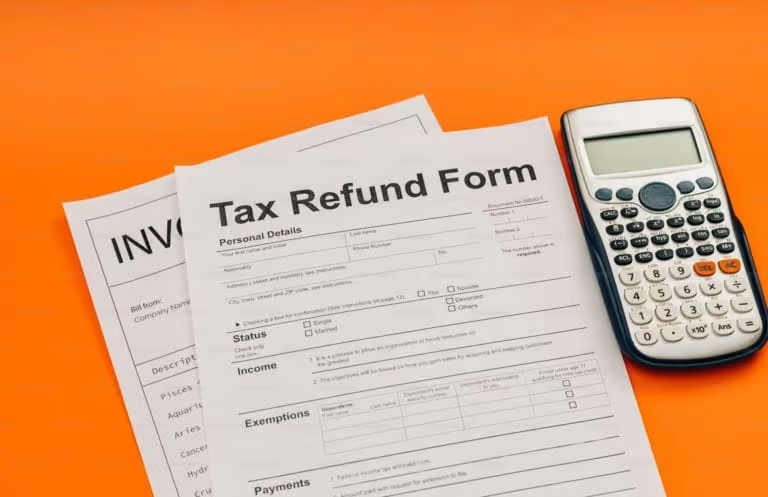
PEPPOL verplichtingen: Bereid je zaak voor op E-facturatie
De Europese Unie heeft de basis gelegd voor e-facturatie, waarin het Peppol-netwerk een belangrijke rol speelt.
-
SEO voor Restaurants, is er een verschil?
Ontgrendel de geheimen van restaurant-SEO om op te vallen in de digitale wereld. Verbeter uw Google-ranking en trek meer klanten…
-
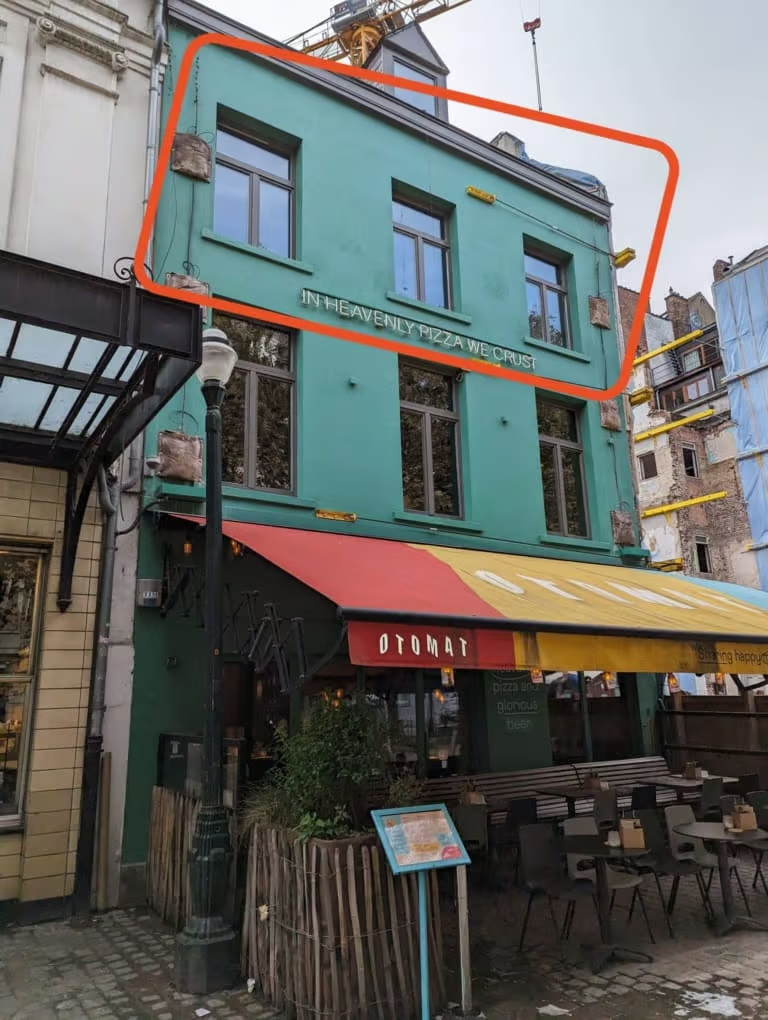
Hetzelfde digitaal bureau, op een andere locatie in Brussel.
Ons digitaal bureau is verhuisd naar het levende stadscentrum van Brussel! We verlaten Brussel Noord voor de charismatische Oude Graanmarkt!
-
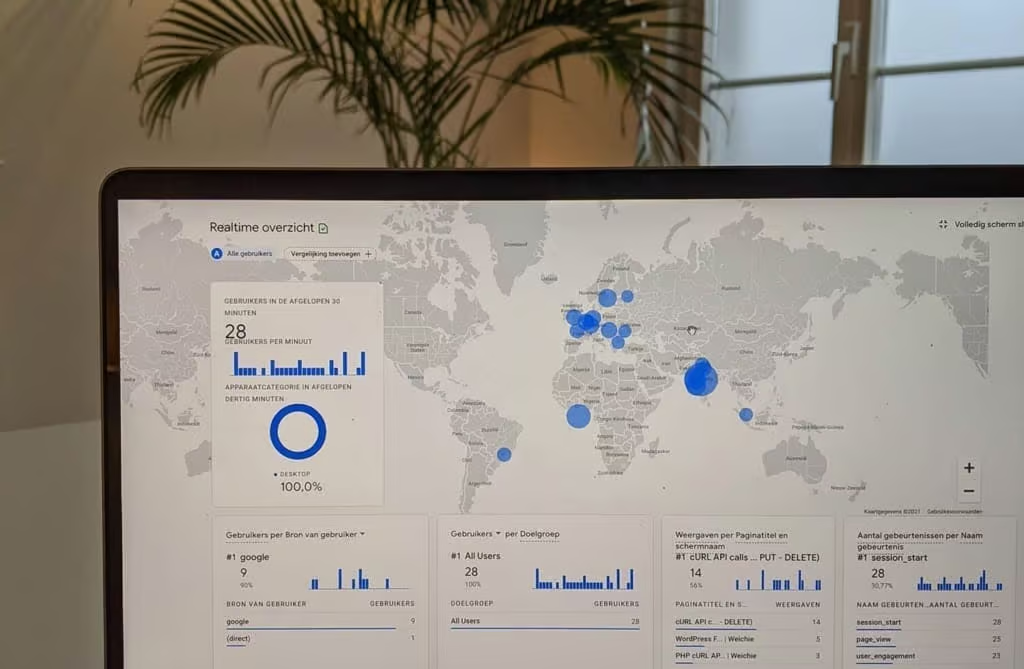
Simple cURL api connection to GET data from PHP rest API
Need to connect data from an API to your website using WordPress or any other PHP-based CMS? With a cURL…
-
SEO voor kleine bedrijven, hoe kan je dat zelf doen?
SEO voor kleine bedrijven en KMO’s is een BIG deal! Je kan een aanzienlijke digital impact hebben met je kleine,…